


Bringing your pool back to a usable condition after a flood can seem a daunting task, but it is essential...

0
(07) 5551 6230
Opening Times
Mon - Fri - 8.00am - 5:00pm (QLD Time)
Saturday - 8.00am - 1:00pm (QLD Time)
Sundays - 8.00am - 1:00pm (QLD Time)
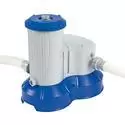
- Pool Equipment
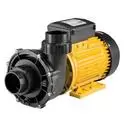
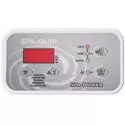
- Spa Equipment
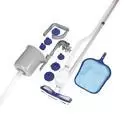
- Spare Parts & Accessories
- Chlorinator Cells
Aquachlor Aquajoy Aqualine Aquaswim Astral / Hurlcon Aussie Xtreme Auto Chlor Compuchlor / FPI / Saltking Crystal Clear Davey / Monarch / Chloromatic Durachlor Emaux Eaquip Evolution / Pentair FreeFlo / Reltech EvoChlor Hayward K-Chlor Maytronics Paramount Pool Controls Pool Power Poolrifik Poolrite / Enduro / Surechlor Poolstore ‘Q’ Pristine / Lincoln / Puraflo RetroChlor Salchlor Saltigem Saltmate Sapphire Stroud Theralux Waterchlor Waterco Watermaid Zodiac / Clearwater – Genuine Zodiac / Clearwater – Generic
- Chlorinator Cells
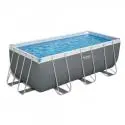
- Above Ground Pools
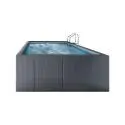
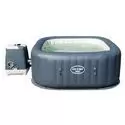
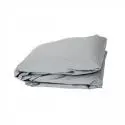
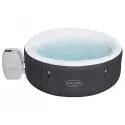
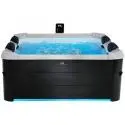
- Portable Spas
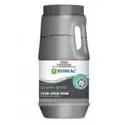
- Chemicals
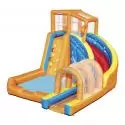
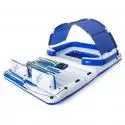
- Toys & Slides
- Furniture
- Household Pumps